Cutting flat tar roofs into sections has been standard practice among roofers for years. Before the advent of motorized cutters, roofers used axes—a labor-intensive process since tar roofs are essentially one solid piece with no entry point for prying tools. Cutting the roof into manageable sections was necessary for removal and disposal, and motorized roof cutters eventually revolutionized this task, making it much more efficient.
The same principle applies to multi-layered shingle roofs. When shingle roofing is cut into manageable sections, it becomes significantly easier to remove and dispose of. However, finding the best way to cut asphalt shingles efficiently was the challenge. Our first test involved a three-layer shingle tear-off with overlapping ridge caps left on from previous installations. Cutting through such a dense layer of shingles seemed daunting, but with the right approach, it became manageable.
Step 1: Start with the Ridge Cap Cut
Begin by cutting down the center of the ridge caps, adjusting the blade depth to match the shingle layers. This cut is highly effective because the middle of the peak has no nails, creating an ideal entry point for tear-off tools. This initial cut helps break the continuity of the shingles and sets the stage for easier removal.
Step 2: Make Vertical Cuts
Next, cut vertical strips from the peak down to the gutter line. To determine the correct blade depth, make a short, horizontal test cut about six inches long, just enough to scuff the boards underneath. Once you see sawdust, you know you’ve hit the right depth. The vertical cuts help divide the roof into manageable sections, making the tear-off process much more efficient and reducing the effort needed to haul debris to the dumpster.
Step 3: Add Horizontal Cuts
Over time, we found that adding horizontal cuts improved tear-off and cleanup, particularly on two-story homes. By cutting the shingles into roughly 16-inch squares, you can easily toss the sections directly into the dumpster from the roof, eliminating the need to double-handle the material by throwing it down to the ground first. This method keeps debris contained and minimizes the risk of damage to landscaping.
Keep the Shingles Together
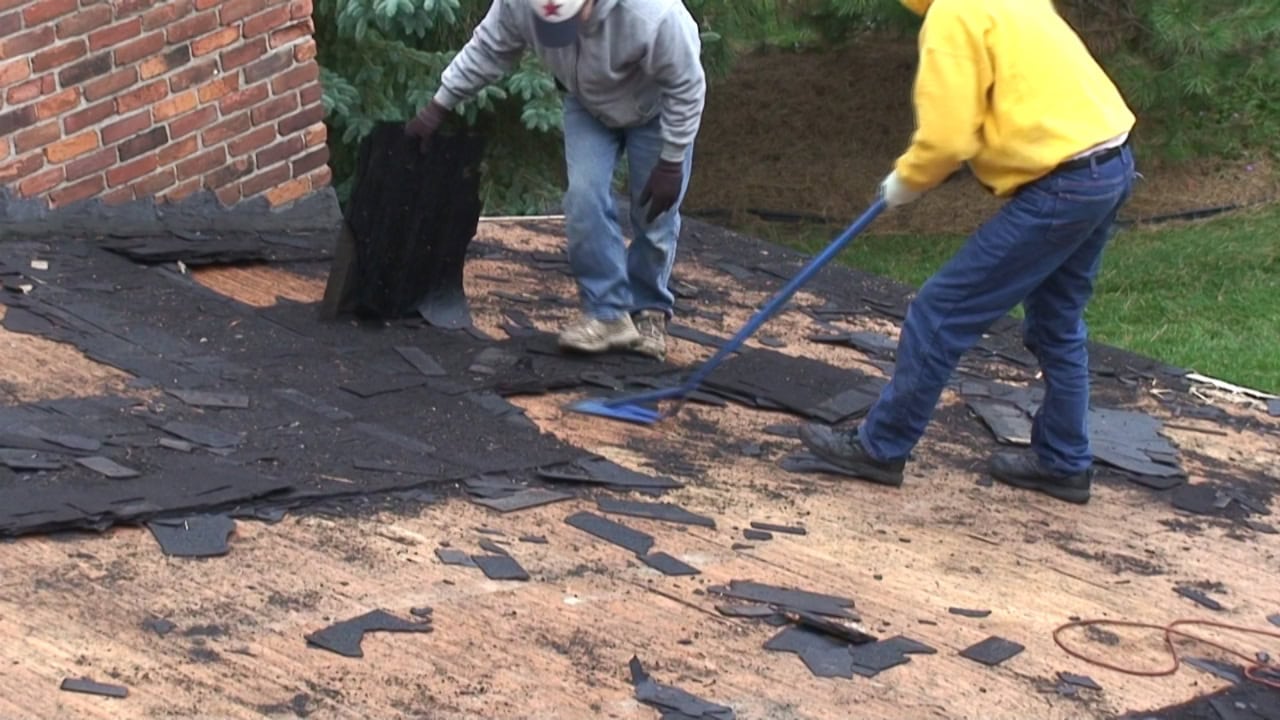
One of the key advantages of cutting the roof into sections is the ability to keep the shingles intact when tearing them off. Two factors are crucial: technique and the right tools. Use finesse rather than brute force, prying nails as you go to ensure quicker and cleaner removal.
The Best Tools and Techniques to Cut Asphalt Shingles
Shingle tear-off tools like the Shingle Eater, with their wide base, help hold shingle sections together during removal. But the saw blade you use is just as important. We developed our own line of blades specifically for this purpose: the BigBlue 5T and BigBlue 3T blades. These blades cut through shingles and nails effortlessly without clogging, warping, or cracking. Designed with massive carbide teeth and a extra-wide kerf with large, open gullets, these blades can cut for a mile or longer, outlasting any other 7-1/4″ demolition blade on the market.
Introducing the RipCart
To further enhance efficiency, we developed the RipCart, a stand-up saw cart designed for cutting both sloped and flat roofs. This tool eliminates the need to crawl with a circular saw, reducing strain on both the saw and the blade. By suspending the saw above the roof, the RipCart minimizes the risk of binding, making it easier to handle challenging multi-layer tear-offs.
Final Thoughts
Tearing off a multi-layer roof can be overwhelming, but with the right approach, planning, and tools, you can save time and effort. Thoughtful preparation—along with the use of demo saw blades and the RipCart—will make your shingle tear-off smoother, safer, and much more efficient.
